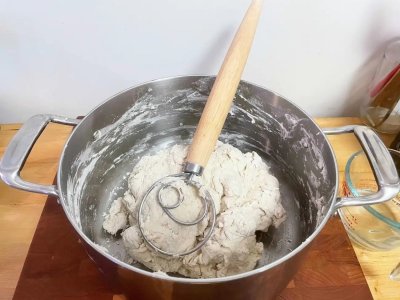
I bake (mostly whole wheat) bread regularly now that the temps have dropped. Always use my heavy-duty Kitchen Aid mixer for the kneading, always make a biga (pre-ferment) 1-2 days before baking day.
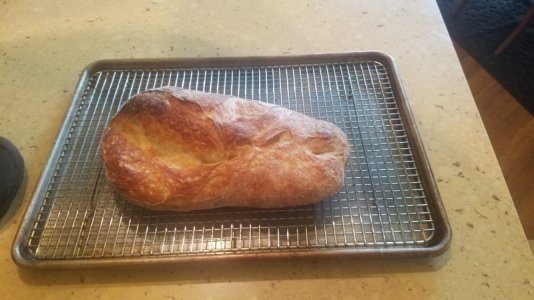
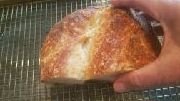
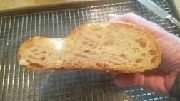
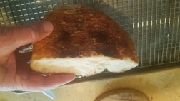
For a crisp crust I preheat the oven and a covered dutch oven for 30 minutes, then place the (round) loaf the dutch oven, spritz with 3 sprays of water, cover and bake for 20 minutes. Then remove the top and bake about 20 minutes more. When it's the right color I double check the internal temp of the bread (210°).
Remove from the oven and let the loaf cool on a stove top's (unlit) gas burner. If I'm baking two loves, I reheat the dutch oven for a few minutes, then repeat the process for the second loaf.
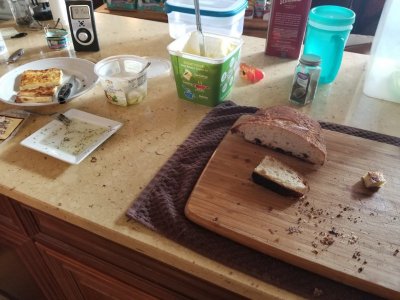
Oh, and I almost always use parchment paper.